Make Your Own Replacement Canopy for those Big ‘Ole Canopy Frames
Our canopy got ruined, and we couldn’t even find a replacement canopy that would truly fit our frame (much less at a price we wanted to pay).
My canopy was/is all about cheap (basically free) and “hurry-up-and-get-it-done-
If you’d like greater UV protection, you could consider tightly-woven cotton or something like that. (Sorry, I looked for the link to something I’d found once and couldn’t find it.)
We eventually added another layer of cotton sheet on the thinnest part of the canopy because I kept getting lightly burnt (from sitting out there literally for hours under piercing sun made stronger at our high altitude–4,200 ft.)
-
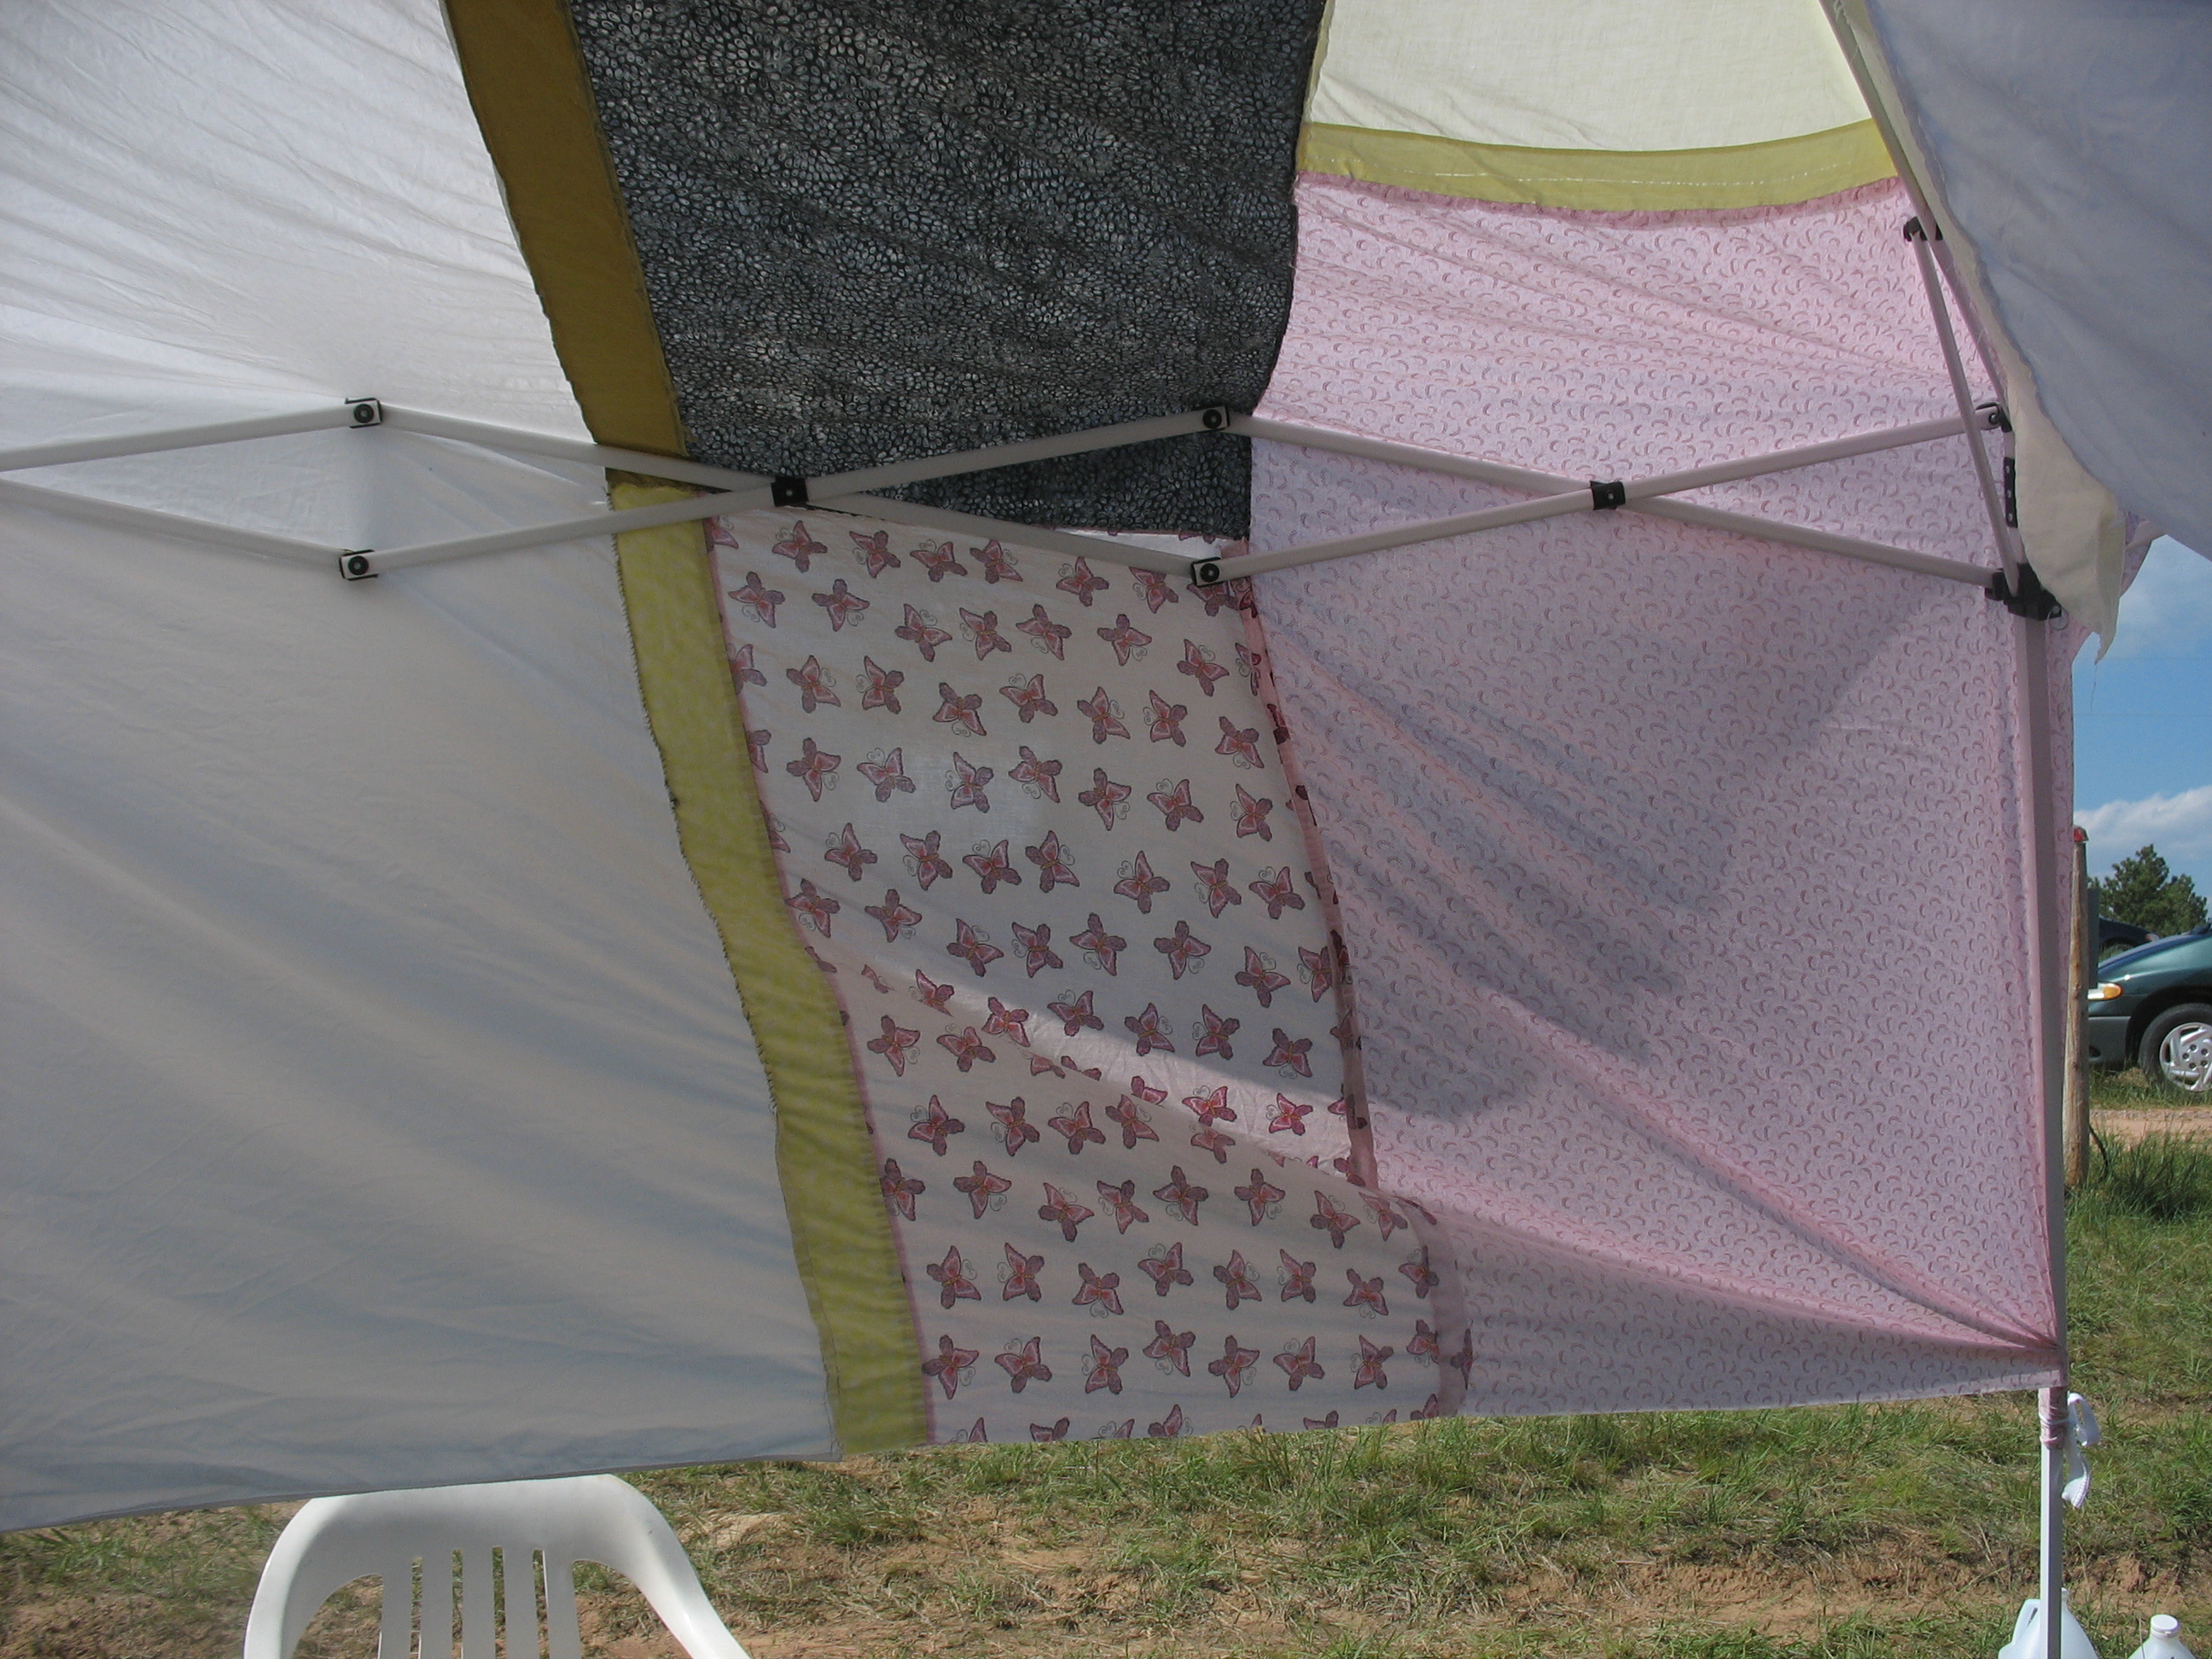
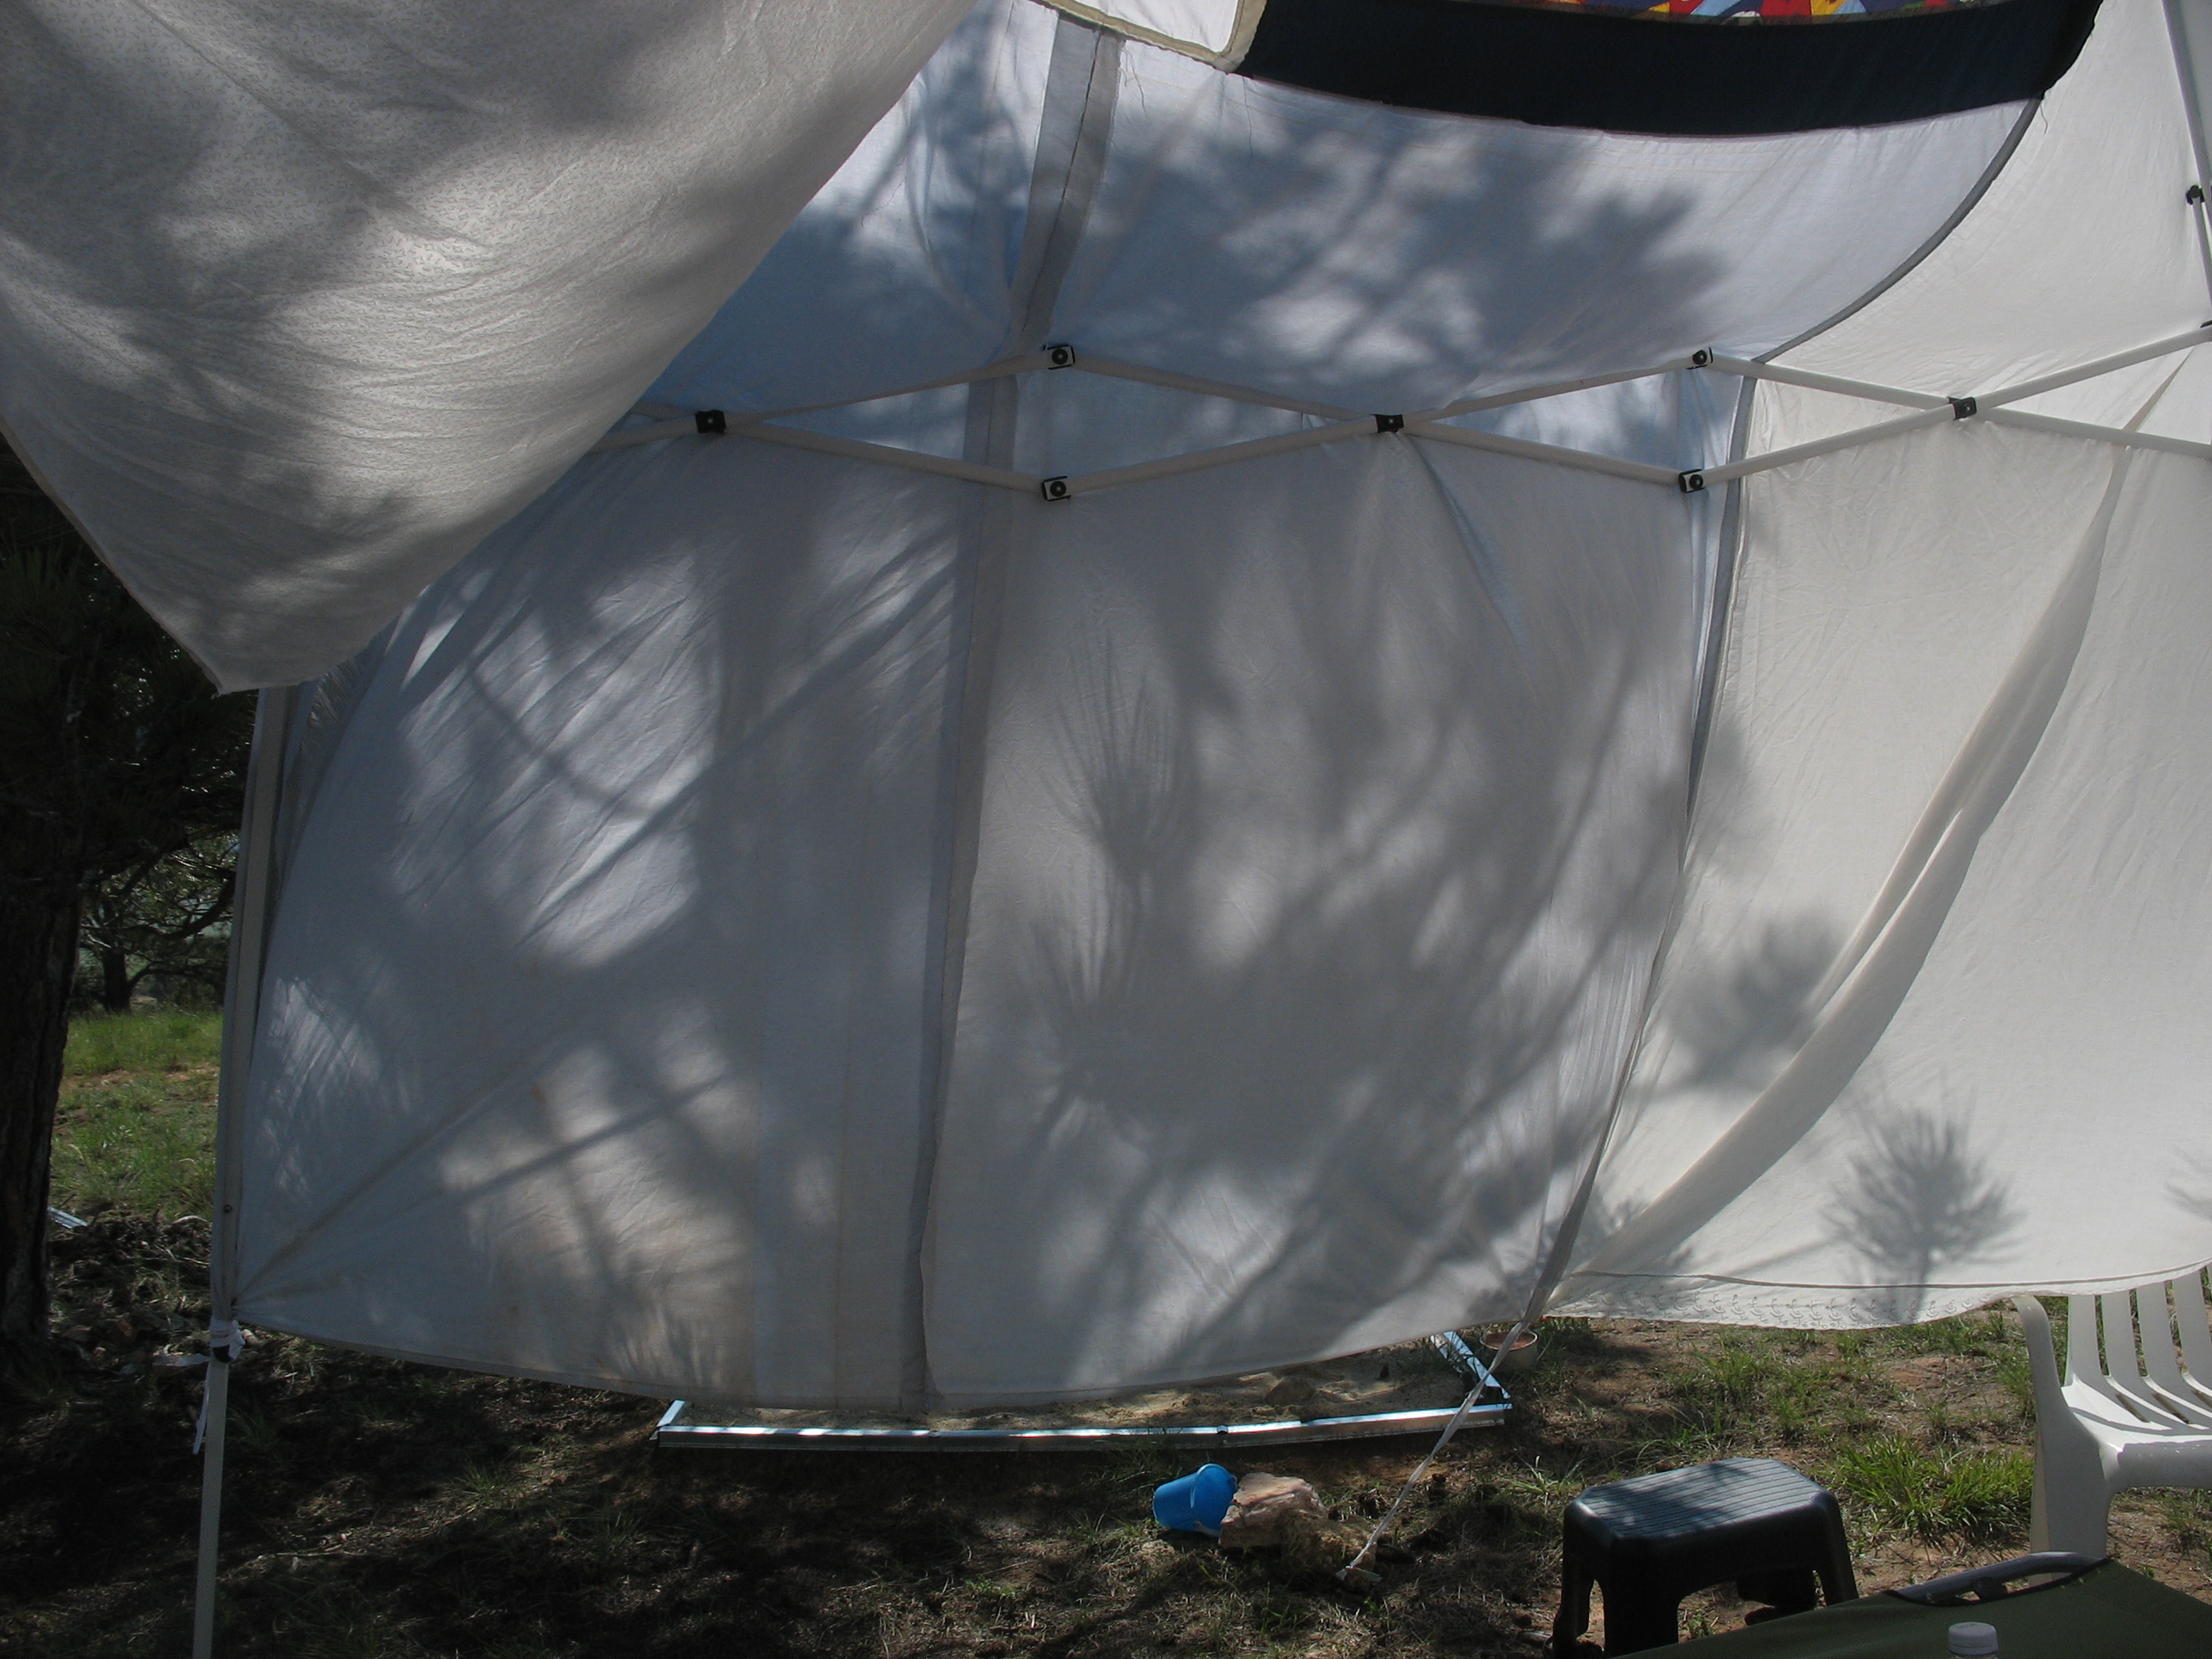
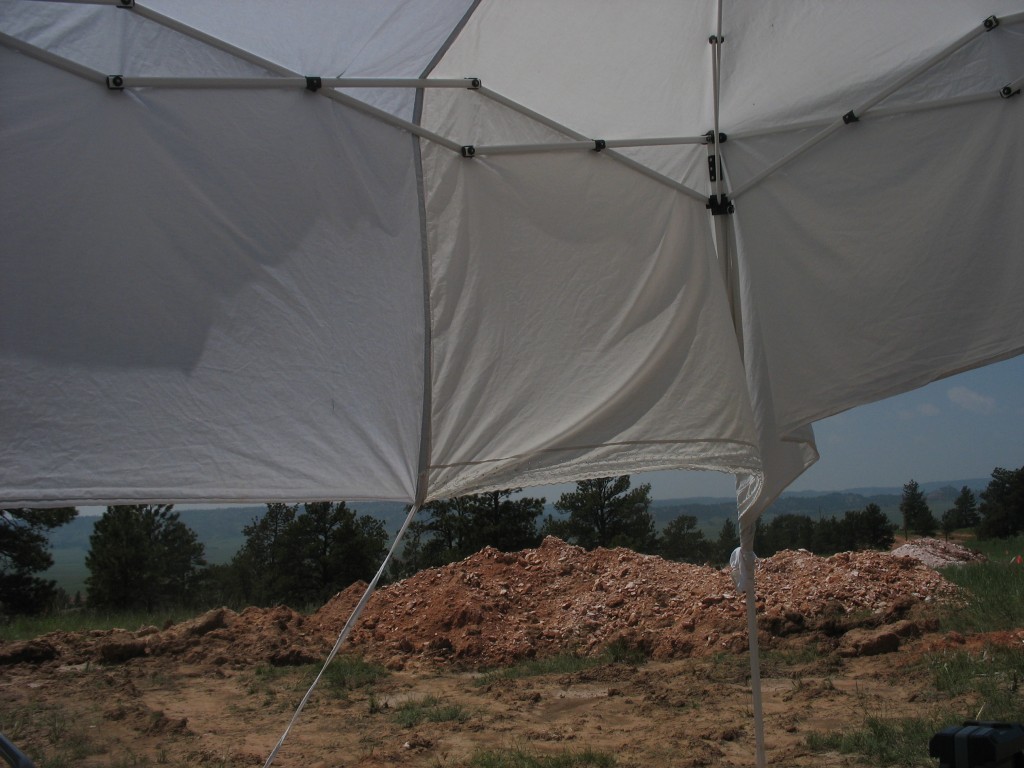
Measure your canopy frame from one leg, over the apex of the frame, to the leg across the way. You want enough material to go all the way over the top and still have some “leftover” to wrap around the legs. They stay tied better in the wind if you wrap them. So, add some to this measurement. Extra is nice, too, for a little overhang on each edge to block more sun. (Picture 3) Or, you can create a nice “wall” on one side for blocking as the sun goes down closer to the horizon. (Picture 4)
- Gather old sheets, old pillow cases, extra pieces of fabric, etc. (Or buy fabric.)
- Cut or rip apart pillow cases so they lay flat.
- Measure all your fabric pieces and figure out how to fit them together, kind of like a puzzle, to make the size square you want. (My goal was 13 ft. by 13 ft. I think I ended up a little bigger than that.) Make sure to allow for extra, for the seams. It doesn’t have to be perfect, though. You can draw each piece to scale on graph paper and cut them out to piece together, or you can write down the measurements and then draw them to scale on graph paper, fitting them together. This part can be difficult, especially if you are math-challenged like I am.
-
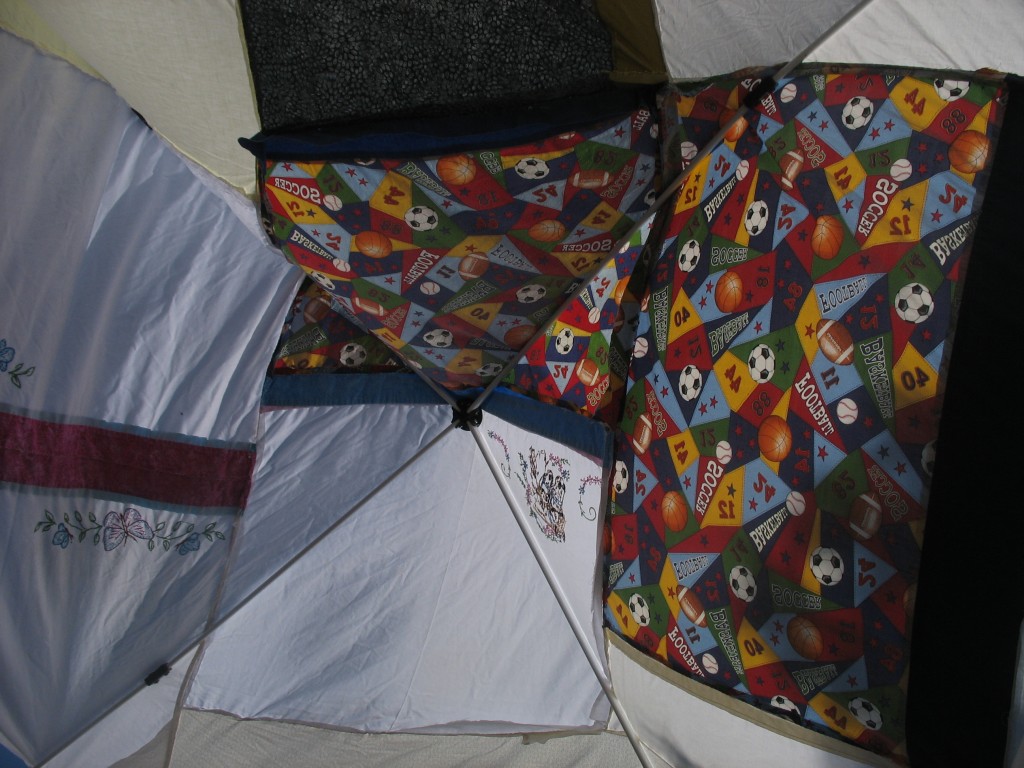
Take note of which sides get sewn together (top of one pillowcase to the side of the blue bedsheet, or whatever), and start sewing! (Picture 5) I used a very heavy/strong white thread for most of it. Leave a little at the edge where the next piece is going to go.
- (kind of 5b) If the edge is “finished,” like the top of a pillowcase where there is a nice, folded edge, you can just stitch together, either by machine or hand stitching with a whip stitch. (Put right sides–pretty sides– together. Whip stitch = tie knot, go through both layers very close to the finished edges, whip around the edge, and come back through both layers about 1/4 to 1/2 inch down the seam and repeat
until seam is done.) If the edge is unfinished (like a ripped sheet or the cut edge of a pillowcase), just fold the edge over a little (maybe 1/2 inch to an inch) toward the wrong side of the fabric, put the right sides together, and whip stitch. For a nicer look/more finished seam, you can zigzag the unfinished edge OR fold it over twice to hide the raw edge before sewing.
- If desired, finish any raw edges around the outside. (This will also help keep the fabric from unraveling if you want to wash the canopy. We don’t plan to wash ours much; it’s huge, and we’re only using it in the fresh air and sunshine…. )
- Gather at least 4 – 6 ties to tie it to the frame. I wear men’s white undershirts to bed, but I hate the ribbed collars and always cut them off. These work PERFECTLY for tying the canopy! You could use various ribbons or such, but they do need to be pretty strong, and it helps if they are a bit stretchy and “textured” (like the ribbing on the collars) so they won’t slip as easily.
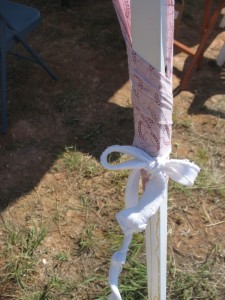
- To put up your canopy, the easiest way is for two people to grab two corners side-by-side and then walk forward, pulling the canopy up over the frame. Then wrap fabric
around each leg and tie with a bow. (Picture 6)
- Sides can have extra ties, and you can tie them to strong tree branches, stakes, etc. (Picture 7) This makes the shady area bigger and keeps the fabric from blowing into people’s heads. Or sometimes it hits their heads anyway; good thing we have nice friends.
Christa Upton Black Hills Picture Books PO Box 293 Custer, SD 57730

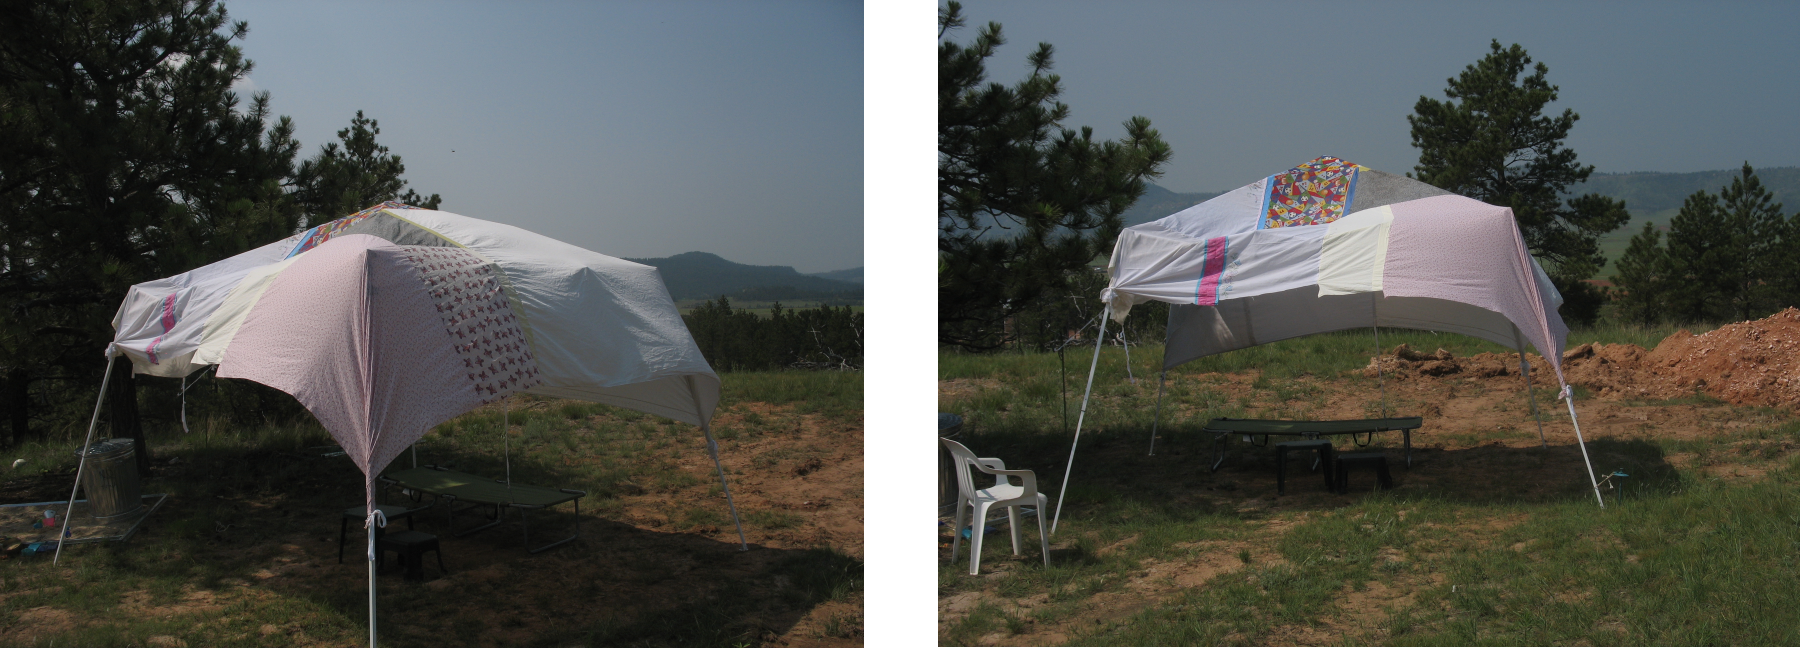
very creative! great job Christa!
Thanks, Kris!! 🙂 It was fun!! 🙂 I’ve been thinking about you. Hope things are going well!! Give those sweet kids and yourself (and the animals 🙂 ) a hug for me. 🙂